
If your Keurig K-Mini is giving you a weak, barely-warm cup every morning, you are not imagining it. Pod coffee has a reputation for being easy, and it is, but there are a handful of small things that quietly wreck the result: the wrong brew size, a cold machine, a pod that sat open too long, or a reservoir that has not been cleaned in months. I made every one of those mistakes when I first set mine up. Now, after using the Keurig K-Mini (see current price on Amazon) for my morning routine before I head out to the golf course, the cup I pull from it is genuinely good. Hot, full-flavored, just right for one person. This guide walks through exactly what I do, step by step.
You do not need any extra gear, any coffee expertise, or a lot of time. The whole process from pressing the power button to walking out the door with a full mug takes under three minutes once you get these steps into muscle memory. If you are caring for someone else and also trying to squeeze in your own coffee before the day picks up, that matters.
Your first cup sets the tone for the whole morning. Make it count.
The Keurig K-Mini brews a single cup in under two minutes, fits on a 5-inch wide patch of counter, and shuts off automatically after 90 seconds. It is the coffee maker I recommend for anyone cooking for one who does not want to babysit a pot.
Amazon Check Today's Price on Amazon →Step 1: Run a Water-Only Brew Before Your First Cup of the Day
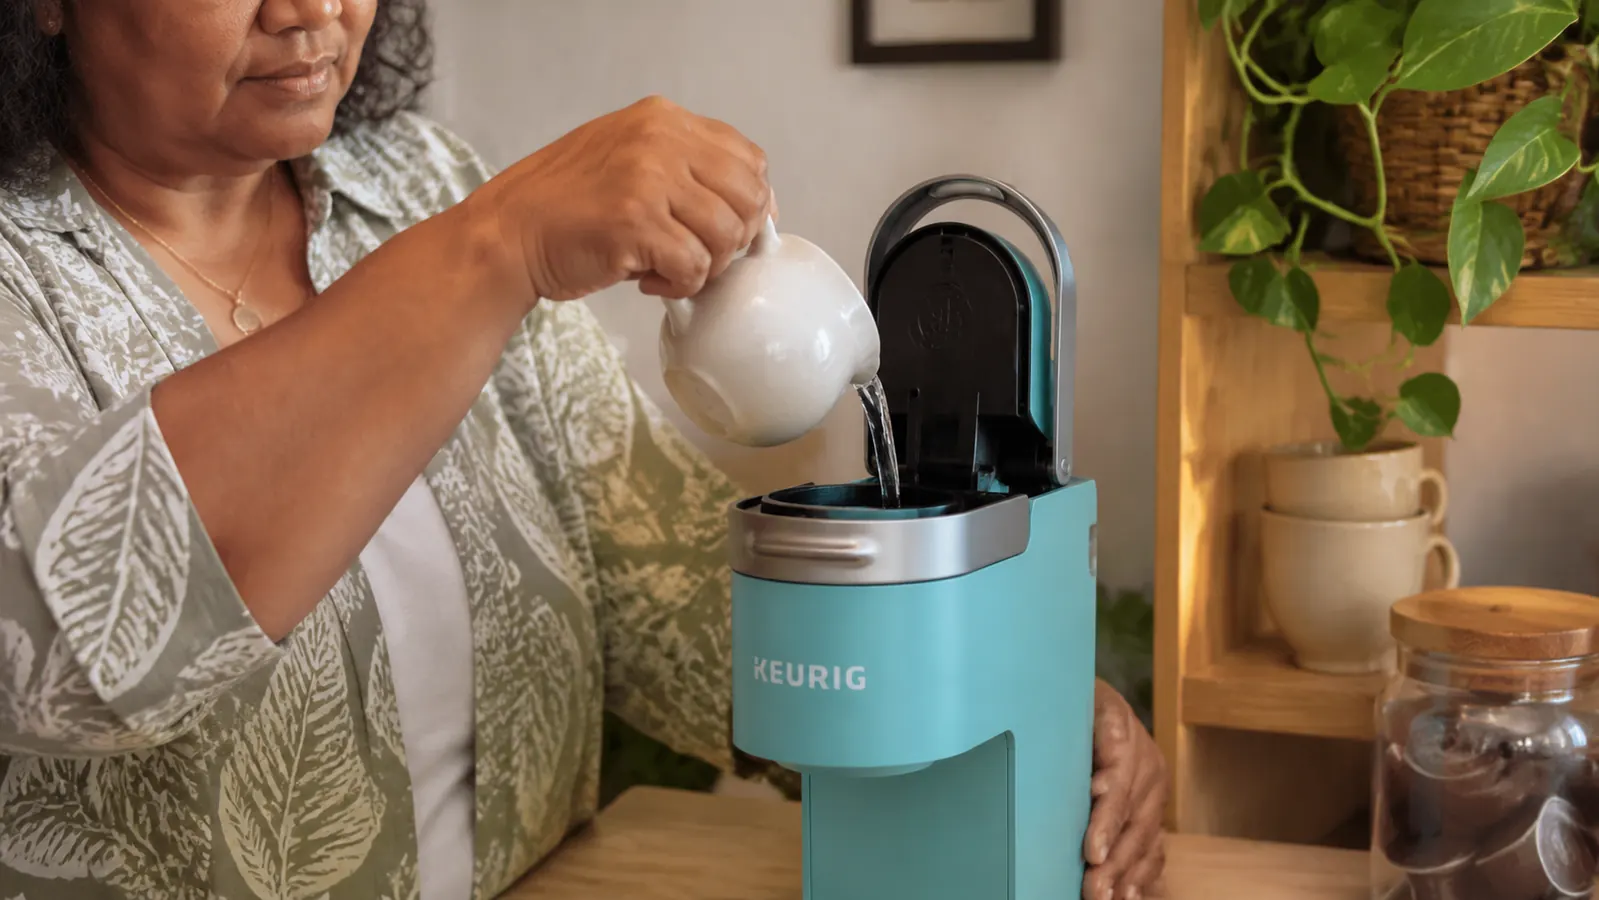
The K-Mini does not have a tank that stays warm overnight. The water sitting in the reservoir is room temperature, and if you brew straight from cold water, your coffee will come out lukewarm before it even hits the mug. The fix is simple: fill the reservoir, place your mug, and run a brew cycle with no pod in the holder. Just hot water. Let it run through. That heats the internal tubing and your mug at the same time.
Dump the hot water out, refill the reservoir with fresh water for your actual cup, and now you are starting from a warm machine. This one step made the biggest single difference for me. Coffee that used to come out around 160 degrees now comes out closer to 185, which is right where it should be.
If your hands get stiff in the morning, the K-Mini's reservoir is a simple open-top fill, no unscrewing or tricky latches. You can use a small pitcher or even a measuring cup to pour. The opening is wide enough that it is easy to aim.
Step 2: Use Fresh, Filtered Water Every Single Time
The K-Mini does not have a built-in water filter. Whatever goes in the reservoir comes out in your cup. If your tap water tastes off or has a strong chlorine smell, that comes through in the coffee, and no pod can hide it. I use a pitcher filter (the kind you keep in the fridge) and fill it the night before so it is cold and ready in the morning. Filtered water from a pitcher is the cheapest improvement you can make to pod coffee.
You do not need to fill the reservoir to the top every time. The K-Mini holds enough for one brew per fill, which is exactly what it is designed for. Fill it fresh each morning rather than leaving water sitting in it overnight. Stale water picks up plastic and mineral flavors that show up in a subtle way, but they add up over time.
Filtered water and a warm machine are the two changes that took my K-Mini cup from mediocre to something I actually look forward to.
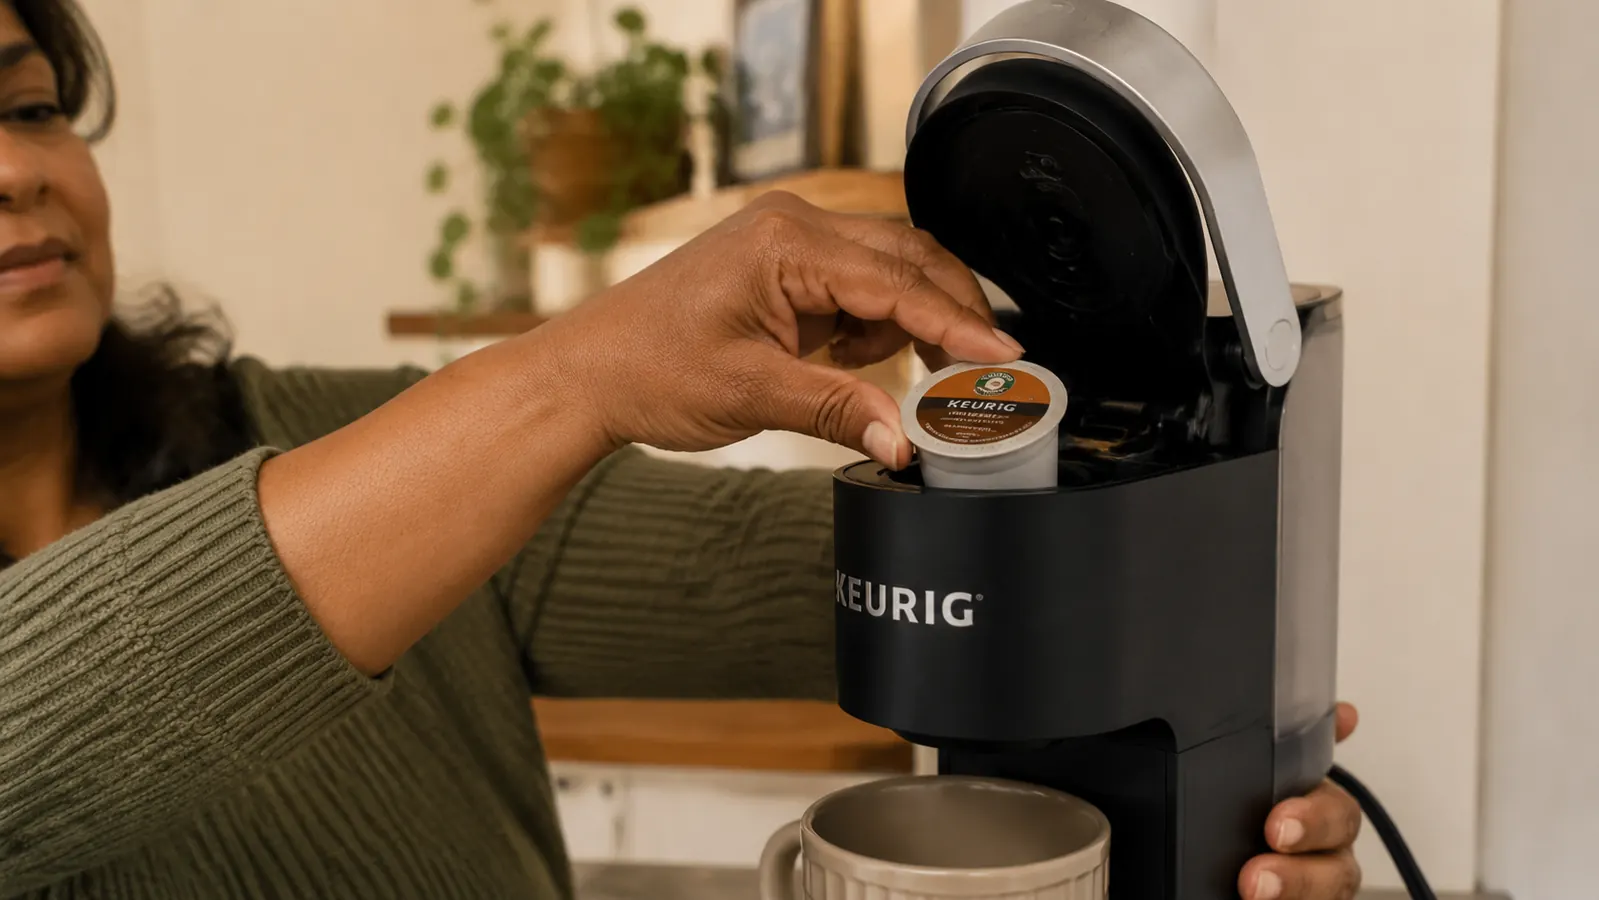
Step 3: Choose the Right Brew Size for the Pod You Are Using
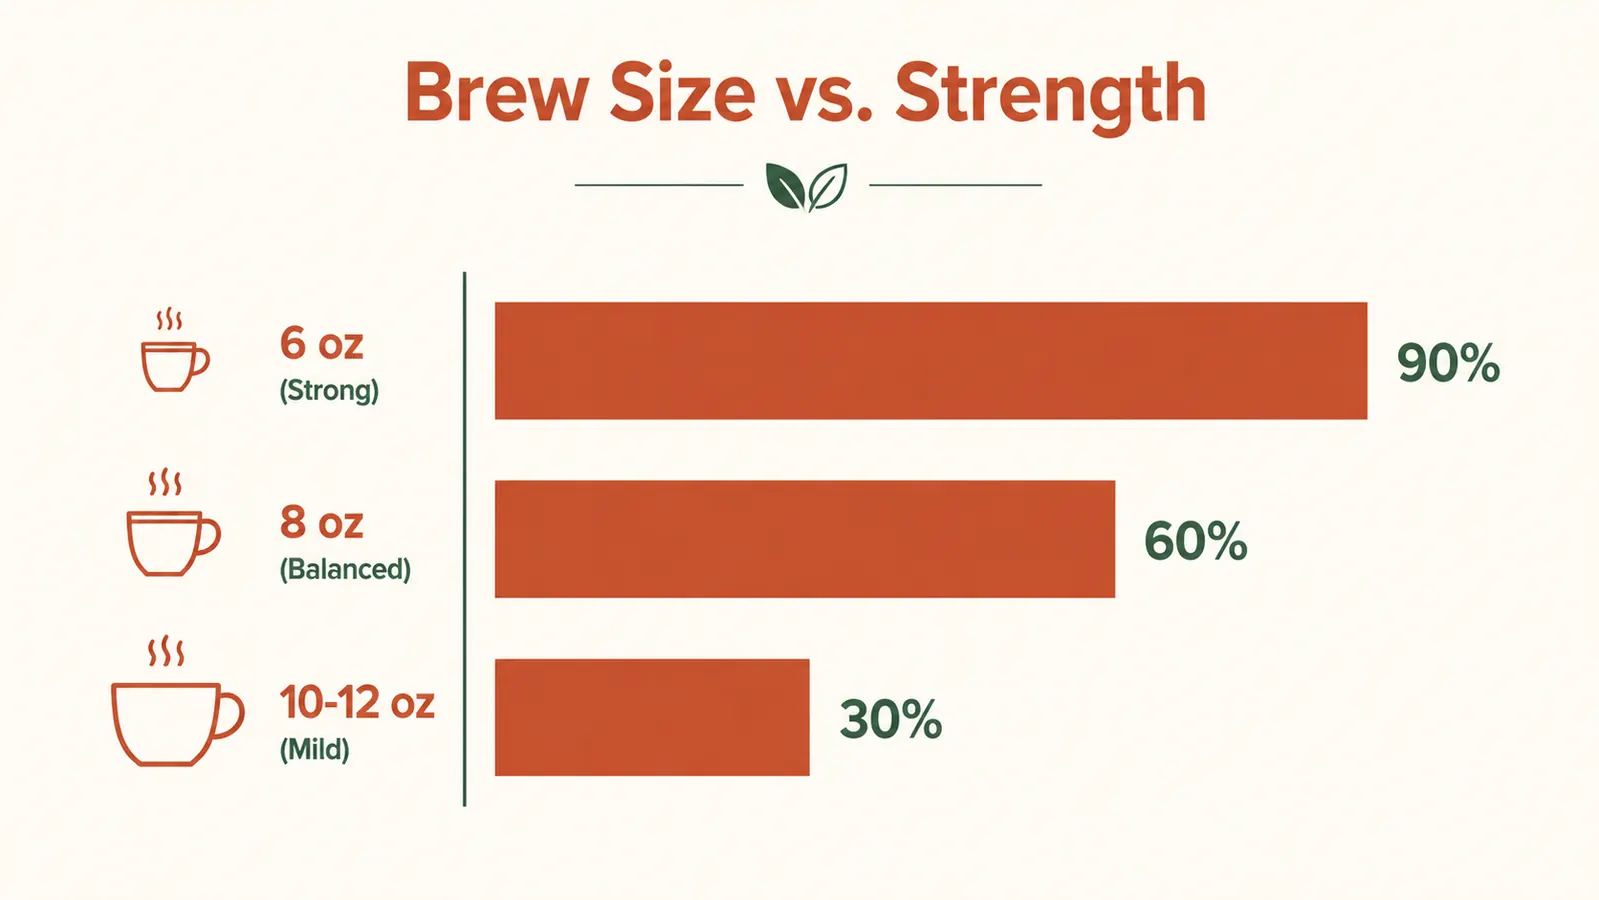
This is where most people go wrong. The K-Mini lets you brew anywhere from 6 to 12 ounces, and the tendency is to fill a large mug and run the biggest brew setting. But a standard K-Cup pod is sized for 6 to 8 ounces. When you push it to 10 or 12 ounces, you are pulling more water through the same amount of coffee grounds, and the result is a thin, weak cup. More volume does not mean more coffee flavor. It means diluted coffee flavor.
For a strong, rich cup: use the 6-ounce setting. For a balanced everyday cup: 8 ounces is the sweet spot for most standard pods. For a mild, lighter cup: 10 to 12 ounces works if the pod is specifically labeled for larger brew sizes. Check the pod packaging. Some brands like Starbucks and Green Mountain make pods rated for 8 to 10 ounces. Those handle a larger brew without going flat.
If you like a larger drink in the morning, a better approach is to brew 8 ounces of strong coffee and add hot water from a separate kettle to taste. You keep the flavor concentration right and still get your full mug. I do this on mornings when I want to sit down slowly rather than rush.
Step 4: Store Your Pods Correctly and Check the Freshness Date
K-Cup pods have a foil seal that keeps them fresh, but they are not meant to sit open in a box near the stove where steam and heat get to them. The best place to keep pods is in a drawer or in one of those pod carousels that sit on the counter, away from heat and direct sunlight. A pod that has been rattling around next to the oven since last month is going to brew a flat cup.
Always check the best-by date printed on the box or the underside of each pod. Most pods are shelf-stable for about a year, but freshness does drop off noticeably in the last few months. When I am buying in bulk to save money, I now check the date before I put anything in my cart online. It is an easy thing to overlook when you are ordering fast.
For pod selection, a few that consistently work well in the K-Mini at the 8-ounce setting: Green Mountain Breakfast Blend, Dunkin' Original Blend, and Peet's Major Dickason's Blend if you prefer something darker. All three are widely available and reasonably priced. You do not need a specialty pod to get a good cup. You need a fresh pod brewed at the right size.

Step 5: Descale the Machine Every Two to Three Months
Mineral deposits from water build up inside the K-Mini's brewing needle and internal tubes over time. When that happens, water flow slows down, brew temperature drops, and the cup tastes stale and flat even when everything else is right. Descaling sounds like a technical step but it is actually very simple. You run a descaling solution through the machine the same way you run a brew, just without a pod.
Keurig makes their own descaling solution, and it works well with the K-Mini. The process takes about 30 minutes total, most of which is waiting. You add the solution to the reservoir with water, run it through in cycles, then run several plain water cycles after to rinse. Full instructions come with the solution and are also in the K-Mini manual. I do mine on a Saturday morning when I have a few extra minutes.
If you notice the brewing cycle is running slower than it used to, the stream is thinner, or the machine is noisier than normal, those are signs that descaling is overdue. After descaling, the difference is immediate: faster brew, hotter cup, cleaner taste. This step is easy to skip, but it is the reason some people think their K-Mini is worn out when really it just needs a good cleaning.
What Else Helps
Beyond the five steps, a few smaller habits add up. Wipe down the pod holder area with a damp cloth every couple of weeks. Coffee grounds and residue collect around the needle, and that can affect flavor over time. The K-Mini is easy to wipe down because the exterior is smooth with no crevices to chase.
Keep the machine plugged in but let it power down between uses. The K-Mini auto-shuts off 90 seconds after a brew, which is one of the things I genuinely appreciate about it. I do not have to remember to turn it off before I leave. It handles that itself. If you are caring for an elderly parent or just have a lot on your mind in the mornings, that automatic shutoff is a real comfort.
If you want to read more about how the K-Mini holds up over months of daily use, I have a full long-term review at Keurig K-Mini Review: Six Months of Morning Coffee in a Studio Apartment. And if you are wondering how it compares to the Nespresso Vertuo Pop before you commit, take a look at Keurig K-Mini vs Nespresso Vertuo Pop for a side-by-side breakdown.
Small machine, big difference in your morning routine.
The Keurig K-Mini has over 108,000 reviews on Amazon and earns a 4.3 rating for good reason. At roughly the size of a water bottle, it fits any counter without crowding. If you cook for one and want a hot cup ready in under two minutes with no mess and no leftover pot, this is the one to get.
Amazon Check Today's Price on Amazon →